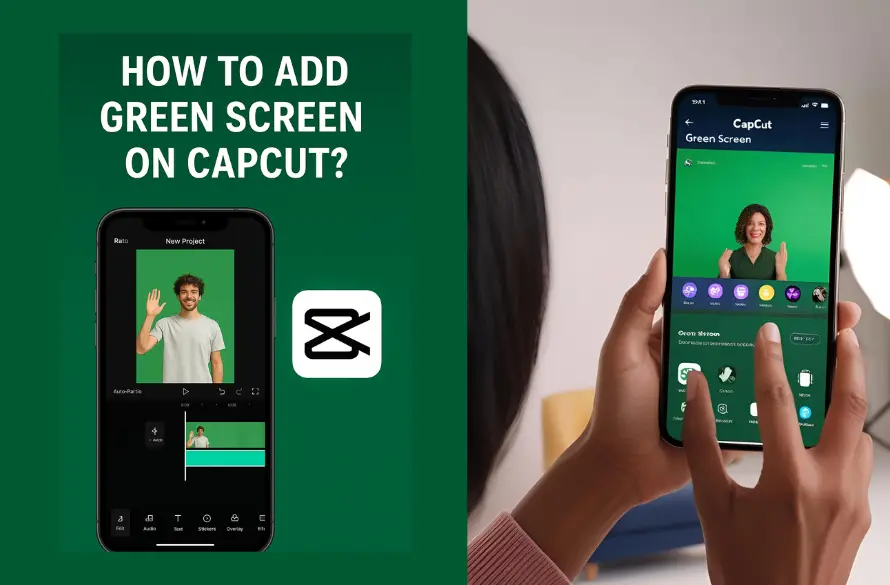
Whether you’re a beginner or experienced editor, this guide will walk you through how to add green screen on CapCut step by step. Green screen editing has become one of the most powerful tools in video creation, especially for mobile users. CapCut, a free and user-friendly video editing app, allows creators to remove backgrounds and add stunning effects using the green screen feature.
For a smoother experience on Windows, go with the trusted link provided here for download capcut for pc.
What Is a Green Screen?
A green screen is a visual effect technique that replaces a solid green background with a different video, image, or animation. It’s widely used in YouTube videos, TikToks, and Instagram Reels to create creative scenes or dynamic visual storytelling.
Before How we Add Green Screen First Know Why Use Green Screen in CapCut?
CapCut makes green screen editing easy with its Chroma Key tool. Here’s why users love it:
- No need for high-end software or PC.
- Fast, clean background removal.
- Perfect for content creators, vloggers, and marketers.
Before starting a new project, make sure you’ve got the latest version — you can get it from our CapCut APK Download page.
Step-by-Step: How to Add Green Screen on CapCut
Follow these simple steps to use green screen in CapCut on your smartphone:
1. Open CapCut and Start a New Project
- Launch the CapCut app on your Android or iPhone.
- Tap “New Project” and choose your background video or image.
2. Add Green Screen Footage
- Tap “Overlay” at the bottom menu.
- Select “Add overlay”, then choose the video clip with a green background.
- It will appear on top of your base footage.
3. Apply Chroma Key
- Tap on the overlay clip to activate the editing tools.
- Scroll through the bottom menu and select “Chroma Key.”
- Use the color picker to select the green background in the clip.
4. Adjust the Intensity
- Use the “Intensity” and “Shadow” sliders to fine-tune the removal.
- This helps to smooth out edges and remove any leftover green spots.
5. Resize and Position
- Use your fingers to move, resize, or rotate the overlay clip as needed.
- Place it where it fits naturally in the scene.
6. Export the Final Video
- Once you’re satisfied, tap the export button (arrow icon in the top-right).
- Save your video in your desired resolution (e.g., 1080p or 4K).
Tips for Better Green Screen Results in CapCut
To make your green screen edits stand out, try these best practices:
- Use a bright and even green background when filming.
- Avoid shadows and wear clothes that contrast with green.
- Record in high resolution for cleaner keying results.
- Keep your camera stable to reduce motion blur.
Common Mistakes to Avoid
- Using low-quality green screen clips – They may result in jagged edges.
- Not adjusting intensity settings – Always fine-tune for best output.
- Forgetting to match lighting – Make sure lighting in your overlay matches your background.
Final Thoughts – How we Add Green Screen on Capcut
CapCut’s green screen feature is powerful yet easy to use, making it perfect for creators on a budget. With just a few taps, you can remove backgrounds and replace them with anything—from city skylines to animated effects. By following this guide on how to add green screen on CapCut, you’ll be able to transform your content and boost your visual storytelling.


